|
Brighter Headlights |
||||||||||||||||||||||||
|
Updated 27 July 2001 |
||||||||||||||||||||||||
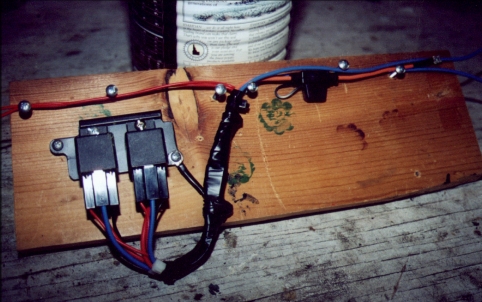
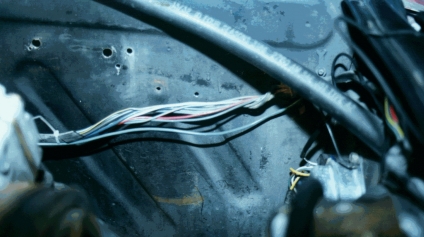
Forming wire harness prior to splicing into the main loom. (Be sure and ID which are for relay 1 and which are for relay 2) Note: this was a good idea, but it didn't work. Because I spliced in right before the left headlight junction, I ended up unwrapping this harness and rerouting the wires. (JW 10/28)
.Spot picked to splice into light harness.
Wrapping removed from existing harness.
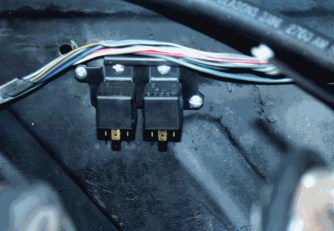
Bosch Relays mounted on left forward apron.
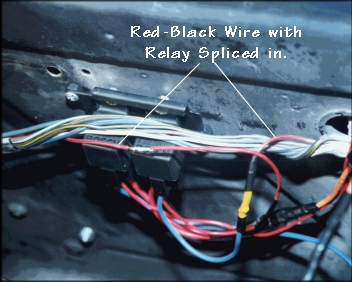
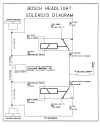
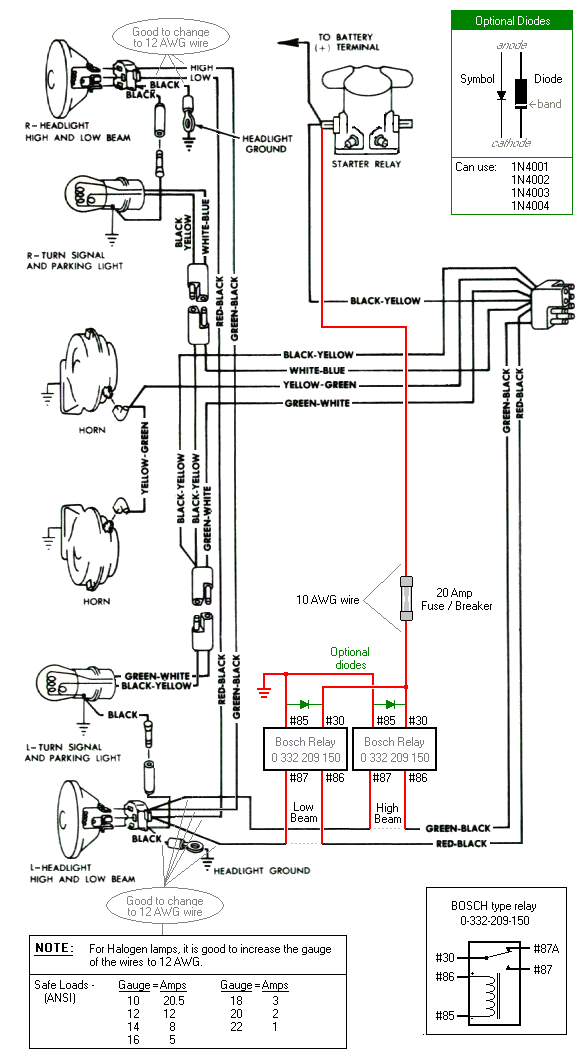
Relay harness being spliced in. Note the transition from the 10AWG blue relay lead to the 16AWG existing wire going to the headlights. (solder joint covered with yellow heat shrink.) Also note the orange power lead from the fuse splitting and going into two red power leads for the relays. Bradster has put me to shame by providing this top shelf schematic below, combining all the various data above along with the diode application for EFI engines. Thanks Brad! Dual Headlights? Check out this website. |
Mustang
headlights are notorious for being dim. Even using halogen
replacement lamps, they can be dim.
The problem comes from the voltage drop over the harness system; as the headlights pull their power through the main loom, and through the headlight switch, which results in a loss of probably 25%. This can be corrected by modifying your wiring harness to feed full voltage directly to your headlights from your alternator, using the power from the light switch to activate a relay to turn on the lamps. You can buy this harness 'mod' for about $75 from several electrical supply sources, or you can do it yourself for about $10.
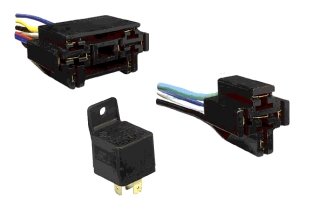
There is one relay for each circuit, High Beam and Low beam. A dedicated hot lead must be connected to a strong battery source (I used the positive terminal of the starter solenoid), and routed following the existing harness around the top of the radiator using 10AWG to the relays through a 20A inline fuse. The fuse was a mini "blade" type in-line fuse (Pep Boys) that also was 10AWG. This 'un-switched voltage' splits after the fuse and is run to each relay, with the output of the relay going to either the high beam line or the low beam line. The wires from the light switch are connected to the small switching lead of the relays, and is used to activate the units. When the headlight switch is operated, it energizes the relay, allowing full voltage to be supplied to the headlights. Installation if pretty straightforward. Run the new 'hot' lead to the area, and splice in the wires to wires 12 & 13, and ground the relays.
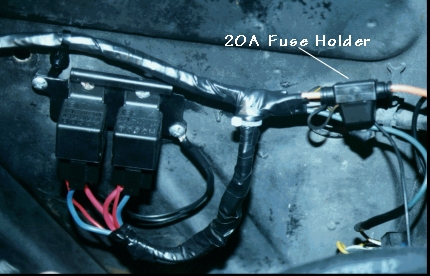
Finished installation. Note the relays are grounded to the chassis, and the in-line blade fuse holder is easily accessible. (The bracket I used to hold the relays was a salvage part off a disassembled vacuum cleaner. You just never know what comes in handy.)
|
|||||||||||||||||||||||
